Monday, July 25, 2011
Arduino is Hard!
Monday, July 18, 2011


Tuesday, July 12, 2011
Wow, that last pictured sucked!


Monday, July 11, 2011
Arduino Update

Saturday, July 9, 2011


Friday, July 8, 2011
Still working on the GPS Code

Wednesday, July 6, 2011
GPS Code


Tuesday, July 5, 2011


First Full Arduino Update
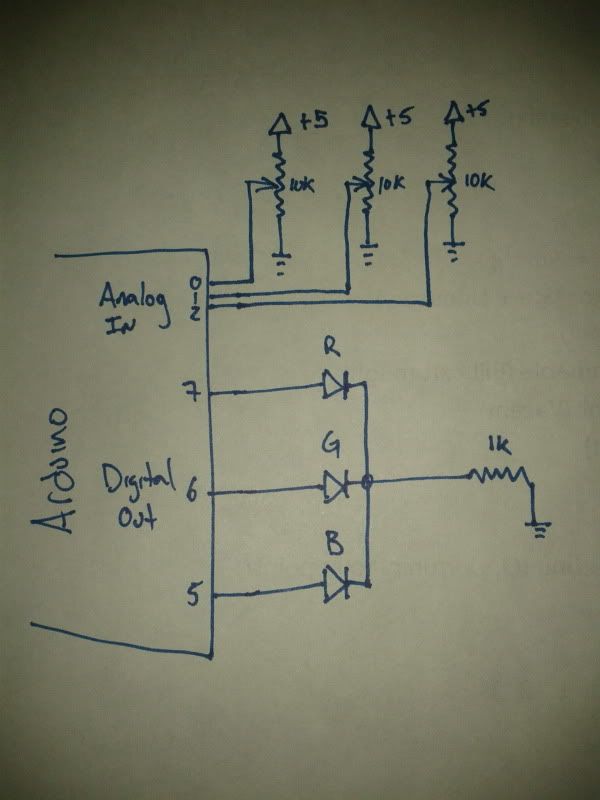
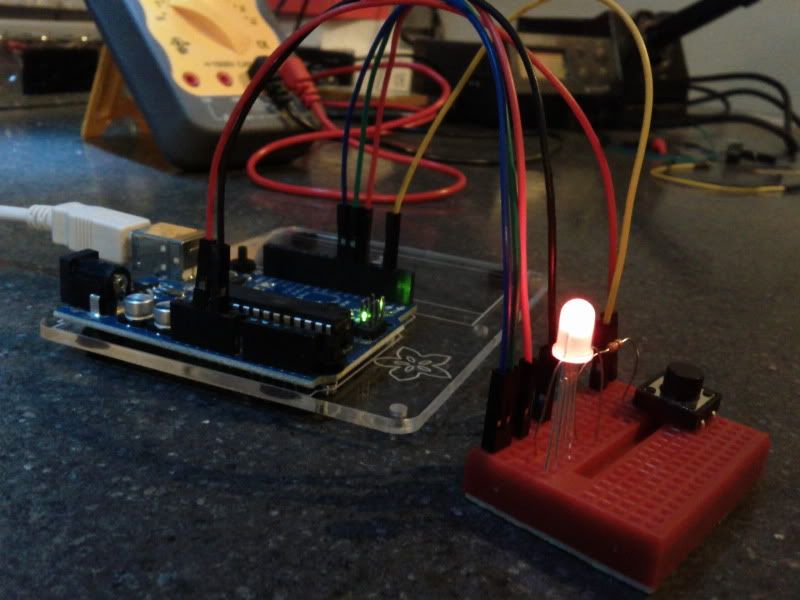
I stared out by blinking an LED and reading a button press so I decided to put those together and change the color of my common cathode tri-color led on a button press. I wired each of the anodes to a digital pin on the Arduino and rotated the active output each time the button was pressed.
The next day I decided to take this one step further and learn how to use the analog inputs. I used three 10K ohm potentiometers that were tied from +5V to ground and took the sweeper output and fed that into an analog input on the Arduino. I had one of these for each color and used the value I read from them to adjust the duty cycle of the colors in the LED in order to mix them to create any color you want.
Then I decided to try to get the LCD working. The code for this was really straight forward since someone has written a really nice library that takes care of all of the nitty gritty details but I had a lot of trouble getting it wired correctly. Thankfully Arduino is open source and has a very large development community! So after spending a long time struggling to make sense of the pinouts on my own I was able to find a really nice step by step guide to getting the LCD wired up complete with pictures from Ada Fruit! (Lady Ada is my hero!)
For the last project of the week I decided to try a more design centric project. My goal was to use the ability of the LCD to display special characters to create a set of numbers that filled both rows of the display. I found out that the LCD can only accept 8 special characters before it's memory is full and then it just starts overwriting the earlier characters. I spent a long time trying to get the parts that I needed down to only 8 characters and was not able to so I decided to cheat and use Google. A quick search showed that this is not possible and that the only successful "Bug Number" fonts are based on numbers that are 3x3 instead of 2x2. I still think there should be a way to do it by reprogramming the special characters before printing each number, but I don't know how slow that would be. I am going to shelve that project for now and move on to others that will help me learn more.
Keep checking back as I will continue to post pictures every day with a full description every week of this challenge!!
Monday, July 4, 2011


Sunday, July 3, 2011

Friday, July 1, 2011


Arduino Challenge
From the Arduino website:

Arduino is a tool for making computers that can sense and control more of the physical world than your desktop computer. It's an open-source physical computing platform based on a simple microcontroller board, and a development environment for writing software for the board.
Arduino can be used to develop interactive objects, taking inputs from a variety of switches or sensors, and controlling a variety of lights, motors, and other physical outputs. Arduino projects can be stand-alone, or they can be communicate with software running on your computer (e.g. Flash, Processing, MaxMSP.) The boards can be assembled by hand or purchased preassembled; the open-source IDE can be downloaded for free.
The Arduino programming language is an implementation of Wiring, a similar physical computing platform, which is based on the Processing multimedia programming environment.
Basically, Arduino is a microprocessor that was intended to be used by artist and people with no technical background and was designed to be extremely simply to program and connect to a whole host of sensors so that it can gather information about the work around it and actuators so that it can affect that world.
The goal of this challenge is to learn to use the Arduino and some of it's myriad attachments.
Rules:
- Designing
- Building
- Programming
- I will take a picture of the progress at the end of each day and post it to this blog.
- I will post an update each week describing what has transpired during the week. Fridays haven't really worked out all that well for me so I am switching to Mondays.